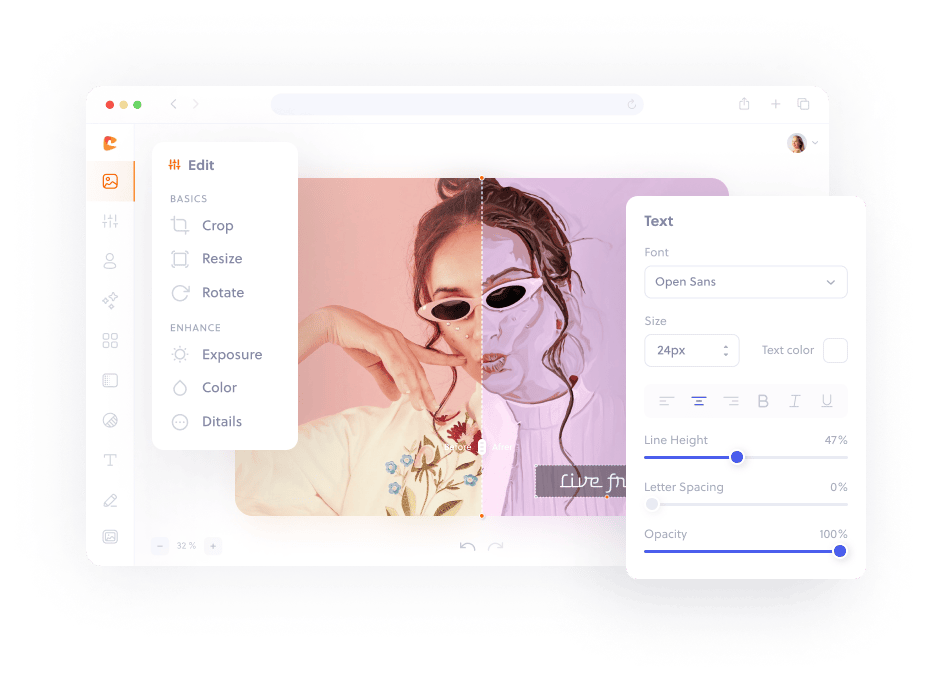
Resizing is one of the most common image-editing tasks, but it is easy to make a photo look stretched, soft, or unexpectedly large. A reliable resize workflow starts with the destination: decide where the image will be used, then choose dimensions and an export format that fit that use.
Start with the required dimensions
Check the size requested by the website, marketplace, email tool, or social platform. Entering a specific pixel width and height is more predictable than repeatedly shrinking an image by eye. For a general website image, the displayed width is usually more important than the original camera resolution.
Keep lock aspect ratio enabled unless you intentionally need a new shape. The aspect ratio is the relationship between width and height. When it stays locked, changing the width calculates the matching height automatically and prevents faces, products, and logos from becoming distorted.
Resize versus crop
Resize changes the number of pixels while keeping the complete composition. Crop removes material from the edges to create a different composition or ratio. If a landscape photo must become a square profile image, crop it to a square first and resize it afterward.
- Open the image in the online photo editor.
- Choose the crop ratio required by the destination when the shape must change.
- Open Resize and keep the aspect-ratio lock enabled.
- Enter the target width or height.
- Inspect text, faces, and fine edges at normal viewing size.
- Export in the format required by the destination.
Avoid unnecessary enlargement
Making a small image much larger does not create new detail. The editor can add pixels, but a heavily enlarged photo may still look soft. Start from the largest clean original available and avoid downloading, re-uploading, and resizing the same compressed copy multiple times.
Choose a sensible export
JPG is practical for photographs and usually creates smaller files. PNG is useful for graphics, screenshots, and transparency. WEBP often provides a strong balance between visual quality and file size for modern websites. Review the exported file at 100 percent and compare its dimensions and size with the destination requirements.
For common social presets, open the social media size library instead of memorizing every dimension. A deliberate crop, one controlled resize, and one final export usually produce a cleaner result than a chain of repeated conversions.
Where AI image upscaling fits
AI image upscalers can estimate new detail when a source must be enlarged, but the result is an interpretation rather than recovered information. Check faces, lettering, product edges, and repeating patterns carefully. For ordinary web and social resizing, a controlled browser resize is faster and more predictable. Use AI upscaling only when enlargement is necessary, keep the original, and compare the generated result at 100 percent before publishing.